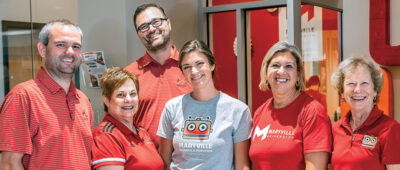
Father and Son — Fellow Students at Maryville
Sam Slaughter is a nursing student on campus, while his dad, Kelly Slaughter, studies for his MBA online
Read ArticleRecent Posts

Annual Staenberg Lecture to Feature Award-Winning Author Dara Horn
Three-time National Jewish Book Award recipient will headline the third Annual Staenberg Lecture on April 15, in partnership with the St. Louis Kaplan Feldman Holocaust… Read More

Brian Owens to Headline Kids Rock Cancer Mother’s Day Benefit Concert
Maryville University’s Kids Rock Cancer is an innovative program that helps children manage the unique emotional challenges caused by cancer or blood-related disorders—whether they or… Read More
From Summer Camp to Studio
Maryville’s CA2 program expands into brick-and-mortar space, readying young minds for an open-ended future. Inside a space once known for dozens of retail stores and… Read More

Lifting Voices and Raising Community
The Maryville University Gospel Choir is singing again, connecting the campus community through music. Damon Mitchell, development director of outreach programs, believes you should use… Read More
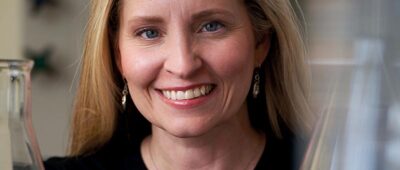
Faith as a Complex Ecosystem
Kyra N. Krakos, associate professor of biology and director of the sustainability program at Maryville University, teaches us that, yes, you can pet a bee,… Read More
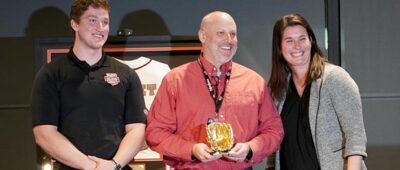
Maryville Celebrates a Decade with Rawlings
Commemorating a Partnership That's Changed the Face of Sport Business (Note: This article originally appeared in the Spring/Summer 2023 issue of Maryville Magazine) For over… Read More

Dr. Lombardi Joins the Presidents Advisory Council of VOICE
Mark Lombardi, PhD, President of Maryville University, has joined the Presidents Advisory Council of Voice of Intercollegiate Esports (VOICE), a nonprofit member organization building an… Read More
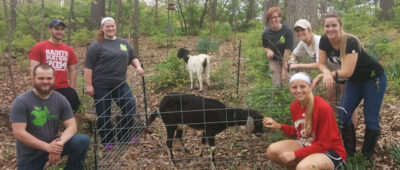
Dr. Kyra Krakos Discusses Goat Day on the Maryville StoryCast
Goat Day was practically a Maryville national holiday back in the 2010s, a demonstration project designed to show our students different ecologically sustainable methods for… Read More

New Federal Designation for Cybersecurity Program
A “crowning achievement” for Maryville brings opportunities for students. Maryville students, faculty and alumni are celebrating a new classification establishing the University’s cybersecurity program as… Read More

Maryville Announces $21 Million Investment in AI and New Technologies Amidst Record Growth
Maryville’s substantial investment strives to keep the university’s future cemented for years to come [St. Louis, MO, February 14, 2024] – In a bold move… Read More